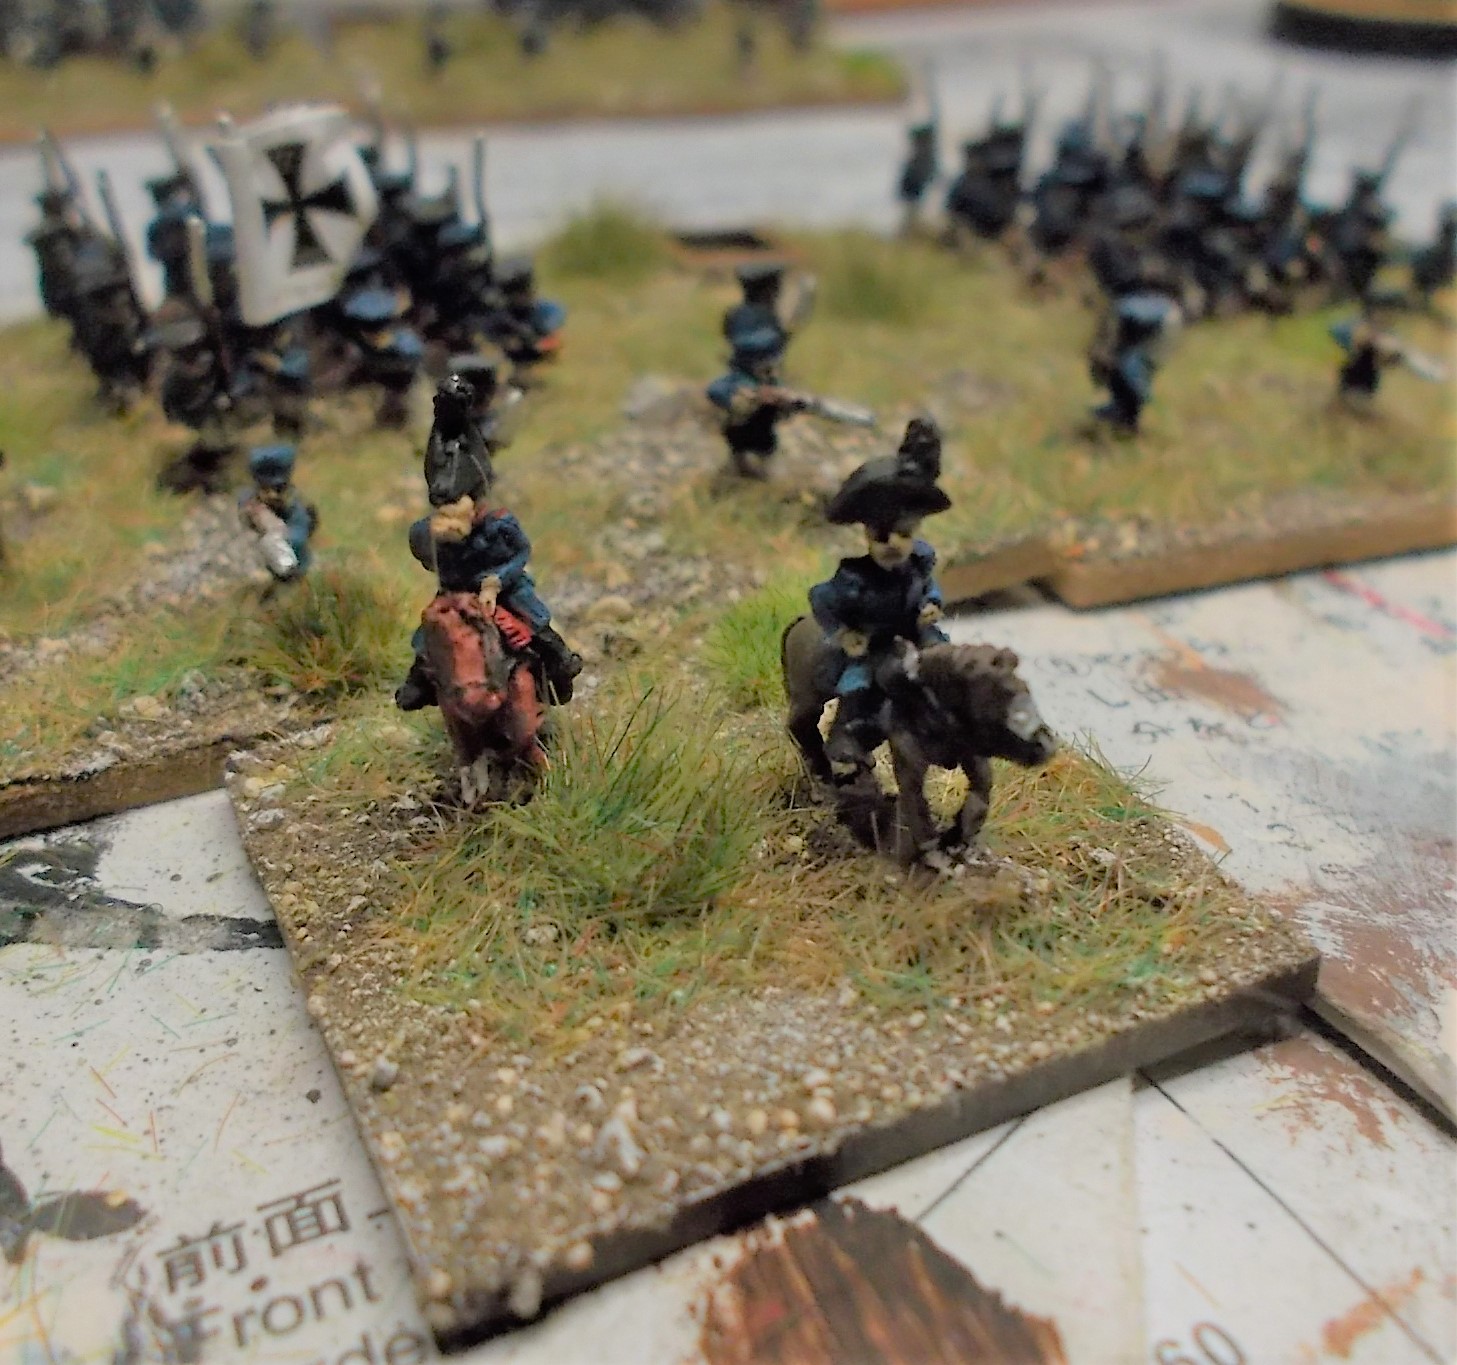
I use the term AAR rather loosely as this was scripted movement rather than an actual game but that was the only way to have shown reasonable movement on the table.
The battle lines at the start shown from Hougoumont down the length of the table. For all the comments about having reduced size buildings rather than ones representing their actual scale against battalions of just 28 figures I felt that with a table this large you can get away with the larger footprint. 6mm really allows you to get the feel of a large battle Lee's work on the table meant no one could use the table edge to secure their flank.
Meanwhile The Boy set up his own Waterloo from the Commands & Colors Napoleonic set.
The allied line certainly looked on the thin side. La Haye Sainte can be seen right in the centre of the shot.
The centre of the British line was somewhat thicker than the majority of their defence. What struck me was how deceiving the French centre looked. It was PACKED with reserves but from across the table they looked somewhat less in numbers than was the case. This effect will be seen throughout the following pics for all parts of the table.
The French crowd behind La Belle Alliance, the front ranks are IV Corp with the guard bunched up behind them. Makes me wonder what may have happened if Napoleon had released all these troops into the attack before other Corps were already spent.
The same area photographed from the opposite board edge. See how the French numbers were hard to see from the Allied lines?
For much of the battle both the Guard and IV Corp were to stay in reserve whilst others did the work. Hougoumont is almost out of sight through the woods.
Plancenoit was strangely quiet (not to mention the Church was in the wrong location - rectified soon after the photo LOL). Would this remain the case?
All the buildings were
Leven Miniatures and had a great deal of comments made. The price certainly attracted interest and hopefully we contributed to their takings. Lee certainly did with him still spending as we helped them load the van!
The small French force tasked with holding my right flank. These had to keep the allied horse and some infantry at bay without getting drawn into an attack on to Frichermont. Their other task was to watch for troop movements further to the right, French reinforcements could arrive at any moment.
Facing them was quite a small force of cavalry, neither side had the numbers to risk starting a brawl so spent quite some time watching each other.
Looking down the line at the less well known locations of Frichermont, La Haie Farm and Papelotte all of which form part of the Allied left flank.
Finally some action. I start to attack the woods to the front of Hougoumont. All the skirmishes could hope for was to slow me down for awhile. The weight of numbers were soon to clear the woods.
I quickly formed up the grand battery and let loose on the hill in the distance. Look at the paltry fire I had coming back at me.
The view down the line, the smoke is provided from the Christmas Snow Blanket bought from a pound shop for about 50p in the sale.
The woods cleared and the start of the big push to take Hougoumont. My troops pause at the woods edge to re-order and poor fire on the defenders.
Meanwhile The Boy plays out his version between talking to punters and spending time walking round the show, painting with Dr Mike and generally being Mr. Cool.
La Haye Sainte gets the treatment as well. Isolated from the rest of the line it can't hold out for long.
Down into the valley Nay charges whilst the guns try to find targets as most of the Allied troops moved behind the crest of the hill. Nay expects to smash through the centre of the line and again be the Bravest of the Brave.
The rest of the cavalry, it was quite a sight to see so many units moving in for the attack. If we carry through the plan to double up the numbers for each regiment then it really will look fantastic when they get used.
La Haye Sainte is lost in a cloud of smoke. I can not understand why I have not be informed of it's fall. My cavalry have swept past it and my infantry are attacking it on three sides but still it seems that someone holds out there.
The view from La Haye Sainte towards the table edge (my right) Wellington and Napoleon continue to look in this direction expecting to see troops appearing at any moment, just not the same troops!
My cavalry crash through the guns and on towards the squares. Heavy cavalry try to slam into the hollow blocks but time and time again they swerve aside as the walls blossom walls of steel tipped smoke. Nay can be seen weeping in frustration as he mounts his third horse.
Slowly the cavalry of both sides close the gap on my right flank. Having watched the mighty cavalry brigades charge up over the hill my lighter cavalry wants to share in the glory of the day, they have no way of knowing the disaster that is unfolding to their left or the coming storm on their right.
Hougoumont continues to resist, I send four battered battalions around the side of the position in hope of finding a way in. The concentration of Allied infantry make this look like a difficult proposition but for now they are some distance away.
With the first assault almost worn out a second attack through the orchards is developing. This is actually leaving a gap in my line that at the moment the British are unable to take advantage of but I need to take Hougoumont soon or risk a counter attack into this weak point.
As I move a third division towards Hougoumont screened by light cavalry the British send in their own heavy cavalry into my attacking infantry that have been sent in after the defeat of my heavy cavalry.
My routed infantry pass through the grand battery followed by the British heavies. I think this might hurt somewhat. Now I need something to start going well. The Allies have resisted all I have thrown at them and are still defending all the way along the line. I still have IV Corps and The Guard but really do not want to commit them without knowing where Wellington is weakest.
Working on the principle that your opponents weakest point is their left flank I send the yet to be committed right flank into action. All the set backs suffered so far can be recovered from if I can pin this flank in place and the soon to arrive columns can crash into it's flank and roll up the line. The troops in the distance have to be French, who else could they be?
This attack is relatively light in numbers but the opposition may be numerous but are expected to fold against the might of a French attack in column.
Papelotte may be defended but I do not expect nearly as much trouble as La Haye Sainte and Hougoumont are giving me but to be sure I supply a strong force to get the ball rolling.
Every farm has it's garrison and as I approach these farms Allied cavalry bear down on my infantry. They are not strong enough to defeat my infantry but do check any further advance at least for the time being.
An inconclusive melee between our cavalry keeps attention on my right flank. At last cavalry can be seen in the distance moving towards the rear and flank of the Allied line. The holding action looks to have worked and superior French strategy can yet win what looks to be a stalemate.
More cavalry appear in the distance moving as if to join our flank. No it can not be, reports say these are Prussians! Well I guess I did not paint them for nothing then.
View from the Allied line where the Dutch/Belgium cavalry are clashing with my flank guard. Plancenoit can be seen in the distance. Now my flank is dangerously exposed, I need to drop back and stop the Prussians rolling up MY flank!
With the welcome news that the Prussians are coming the British infantry reserves start to move forward on their left flank. My attack in this area has now become a danger to the whole army, I need to fall back and shorten the line to generate a small reserve. I need help!
It's not just the British attacking in this area, my French are far away from any real support and the Hanoverian's look to be taking advantage of an open flank.
You can just about see the Prussians coming onto the table. The Guard have yet to react, Napoleon is now aware of the disaster that may soon befall his army. The Guard is to pull the army out of the fire!
Another view, just because........
The third Division to be thrown against Hougoumont only partly arrived as it took heavy casualties as it marched along the British gun lines that had recovered from the earlier French cavalry attacks. The obsession that was Hougoumont has worn down a whole Corp of infantry and tied down very little of the Allied troops.
More French guns are swept away by Allied cavalry which press on to continue the rout of the broken French infantry.
Finally the Old and Middle Guard start to attack towards the centre. An attack that if started several hours before may have won the battle now can only stave off defeat.
Rallying French infantry shelter behind the guns whilst the odd blown cavalry regiment try to help hold the line. All chance of a victory has passed, now holding our positions and recovering to continue the war another day is the aim.
Meanwhile the Young guard marches towards the right flank as it becomes ever clearer that the Prussians are coming in strength. In the near distance broken French cavalry look to be making an hasty exit.
Still uncommitted line battalions are sent towards the hinge in the line. If I can hold back the British until the Young Guard can take position to their right then all may still be saved.
Prussian infantry following behind the Landwehr cavalry. The whole of IV Corp was soon to be coming from the right and yet more troops were further in the distance, how was this possible? Treason?
The Prussian cavalry screen links up with the Allies, the worst possible fears are starting to be realised. All offensive action needs to stop.
The French line bends but does not break, can darkness rescue me from disaster?
The view from the Allied left back to Hougoumont in the distance. The French have bent back from the farms that formed the Allied left flank.
The Old and Middle Guard fill the vacuum left by the Line and Cavalry, though they face no direst threat......... yet.
Almost forgotten, La Haye Sainte had fallen but was not to be the bastion it had been for the Allies, instead it was just a half burnt jut in the line.
The Young Guard takes control of Plancenoit whilst the Prussians mass beyond and the French IV Corp protect the Young Guards left flank but who protects their's?
A tough battle ahead in the streets of Plancenoit.
Wave after wave of Prussians arrive, exhausted from nearly two days of marching the Prussian IV Corp had not tasted defeat at Ligny but hungered for revenge. Parts of I and II Corps were also marching to the sound of guns.
Orders to abandon La Haye Sainte were as unwelcome as they were necessary, at least it had fallen I suppose.
The Old and Middle Guard have nothing to form against in the middle and the Allies start to lap round them. A slow and painful retreat into the history books is the final fate of this once invincible Corp.
Hougoumont remained in the hands of the Allies and as the French line crumbled the already bloodied French face a counter attack and are driven from the field.
Meanwhile The Boy wins his game against an old wargames buddy Richard. I can attest to the excitement coming from the game as Richard came close to pulling off an upset as the scenario is biased towards the French but in the end he could not quite catch up and The Boy goes three wins on the bounce!
His usual tactic, have your opponents options reduced by having him stuck in square!
Our game never reached it's full conclusion but the end was never in doubt though possibly some of the events were out of historical sync.
I felt like I actually learnt something of the real battle through the reply and can see how parts of the battle effected others and feel I really understand just how bad the sucking in to Hougoumont of French infantry was and how it caused a major problem later when those troops were needed. Also the effect the Guard could have possibly had if released earlier.
Lee has done a cracking job on the board, his work really made the difference with the game. Now we just need to find the time for actually playing the game and getting it organised with the other guys.
Thanks also to Peter for convincing us to take Project Waterloo on the road and a big thanks to all who stopped buy and chattered with us about the game, even showing us pics from Waterloo 200 and complimenting Lee on his picking out of certain terrain features such as the opposing ridges and their placement. I was not aware how special this project was to become and with hindsight may not have taken on such a BIG project. However the result is something we can be very proud of but pride I want to say was very much helped by the great and kind comments you the reader have heaped on us through the last three odd years. Next up is something a little smaller :-)