Saka Light Cavalry

Saka Light Cavalry
Showing posts with label Check Your Six. Show all posts

Thursday, 19 June 2014

Check Your Six AAT Attack on the Airfield

It's been a very light year so far for wargaming, with about three games played prior to this game and none at all against Matt so it was great to get a game in with Matt again. Check Your Six does not really feel like a typical game for me and tends to get far more laughter than say Fields of Glory Ancients game. Not that I don't play to win because I do but it just is a lighter experience I think.
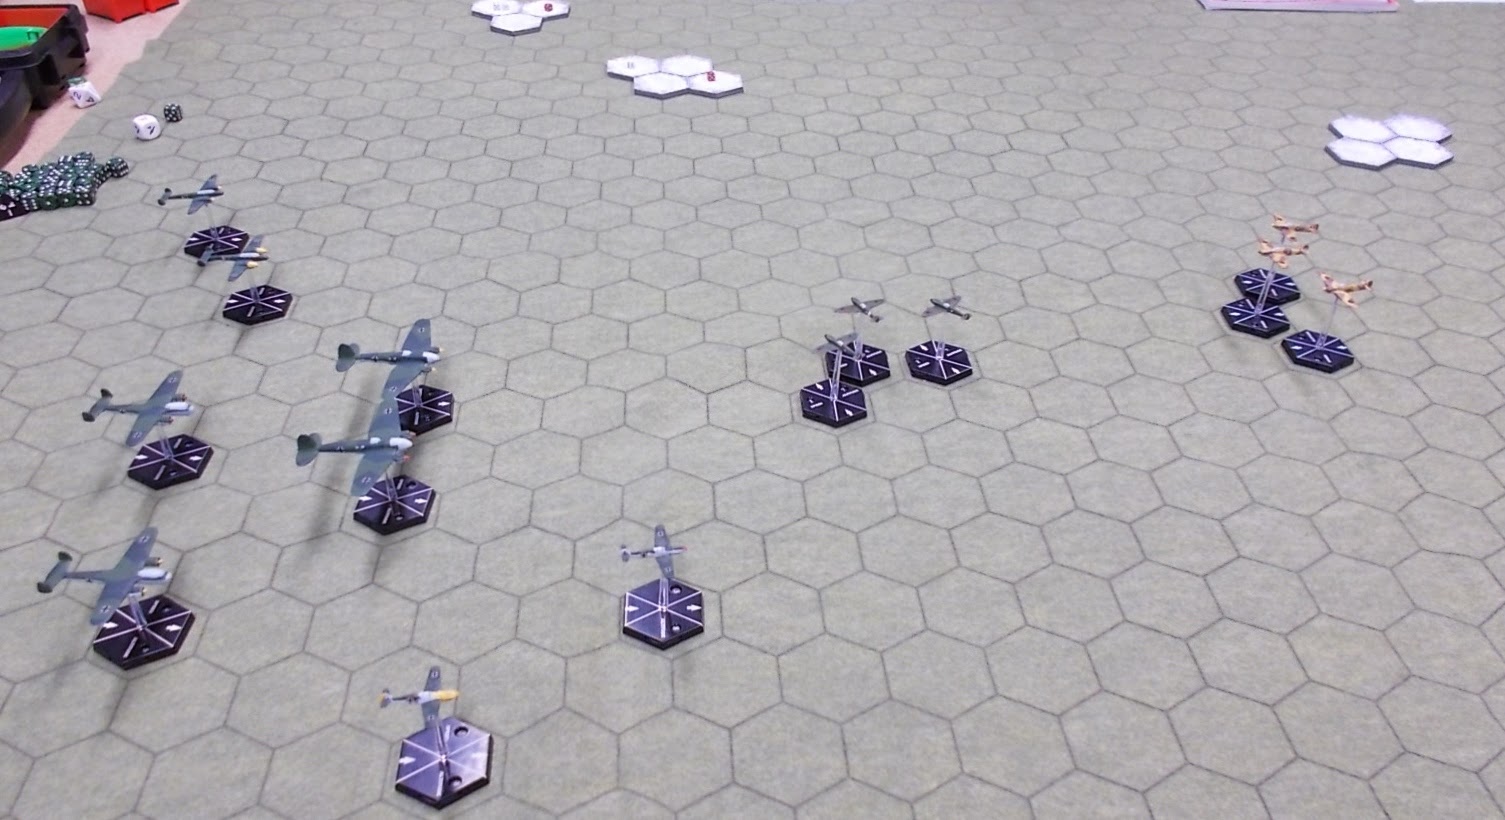
This is a follow on from the December game where I had took a pounding failing to take out the Radar protecting this sector. As such I was expecting to go into this game with a disadvantage and on finding three Spitfires and three Hurricanes it certainly looked that way as I had just two ME109's and two ME110's with a pair each of Dornier's and Heinkel's that needed to now bomb the airfield.

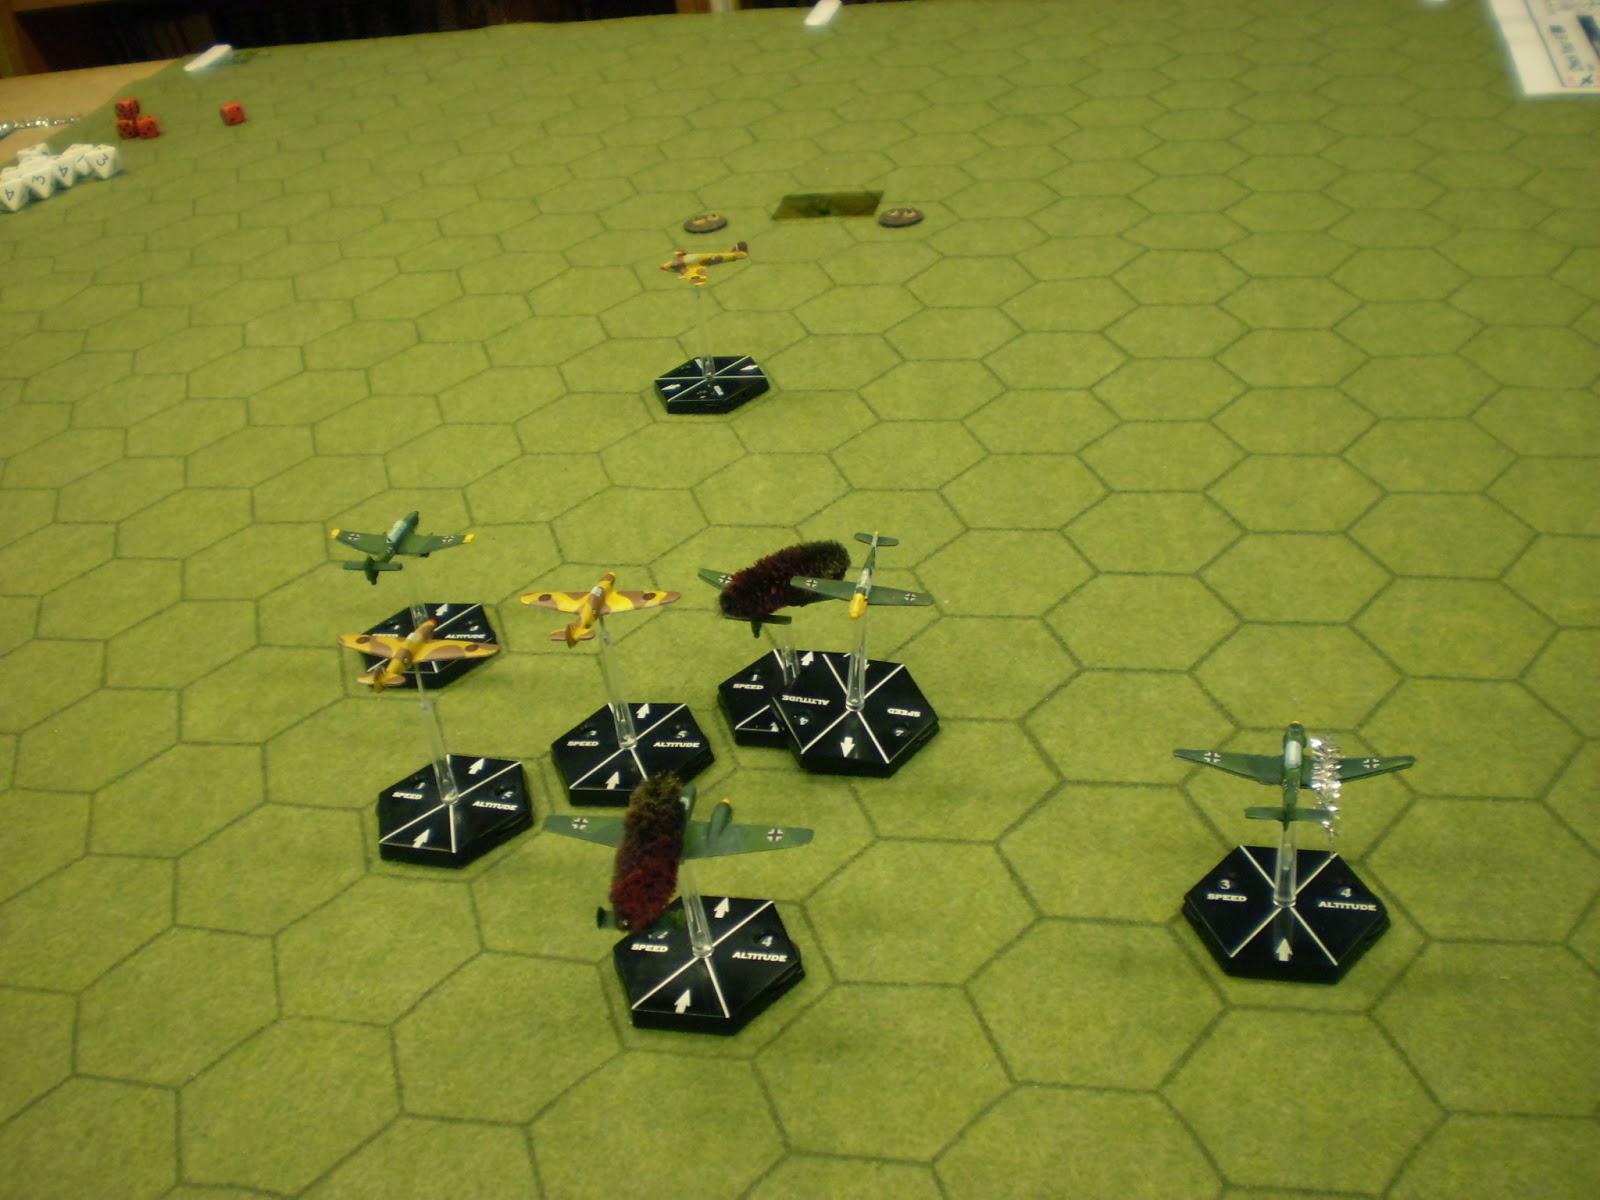
Now CY6 is a fairly bloody game and you don't come out of a mixed melee like the one above without a fair few holes in your planes. The only good news is that the Spitfires were actually Defiant's though the bad news was that they were in great position to fire at my plane.

Well the good news was that whilst the Brits landed a few shots (less than they should have) the structure of the bombers was so strong none of the hits turned into damage. However I failed to even hit a single plane but overall such a result is a win for me.

 The following turn I had two Defiant's dead for rights though I wanted to make sure so fired both my ME110's at the same target, guns and cannons needing 4 and 5 on 2D6 for a hit, both missed by one for a frustrating close call. Matt missed with all of his as well so at least we were on evens.

The low odds shot the next turn though caused superstructure damage to my Ace ME110 plane fired on by either a Green or Skilled pilot Defiant so meaning that would one would have to tread lightly. One of my Veteran 109's took an engine hit but he did deserve damage as he ended up slap bang in front of a Hurricane. The Defiant's were just moving out of the battle area and thus out of the fight as they could not get back in time to take on my bombers as they set their sites on the airfield.

Whilst I was rolling really bad for shooting, most being well below the required magic numbers I was rolling almost faultlessly for damage. One of the Dornier's needed something like seven and I rolled ten for instance. Unfortunately this was a double five that turns into a special hit, "Don't roll" was Matt's last words before double one landed! OK pilot dead, aircrew roll to take control which I think was a seven. I rolled somewhat below this and the very first loss was registered. That's about 5-6 turns into the game and unheard of, especially when considering the number of shots we had taken and the close proximity of the planes. The other Dornier was tagged but not too bad. I had elected to go round the clouds in the hope of getting to the target that bit quicker. The clouds being the white hexagons that actually look better in the flesh.


I had been diving each turn for a few turns to gain the extra one hex distance which is a big bonus when you move at only two hexes per turn. By this point I had been under fire from the heavy AA for a few turns and now the lights started to give out some fire which so far had been totally ineffective.

The Defiant's were not the only planes being left behind as I had managed to fail to keep up with the Hurricanes and thus was playing catchup, well all but the ME109 with engine damage as it could only move two hexes a turn as well.

The rear Dornier was then taken out but that was expected as it was just trying to hold the Hurricanes off the two heavier Heinkel's. I was starting to move into position to start being a problem for the chasing Hurricanes.

One turn to go and one bomber finally took a superstructure hit and the other was racked by the Hurricane behind it losing an engine. The other Hurricane had pulled an Immelmann as he would end up in the same hex as both bombers in that last turn and promptly dispatched one of my 109's. 

Now I had to survive the last round of AA fire and two Hurricanes fire, somehow I managed to survive all this and drop my bombs. The first bomber failed to hit it's mark, possibly as his comrade was also dropping it's bombs at the same time but from directly above him!! This second bomber was a better shot but not by much as he managed to do light rather than heavy damage. Sure the runway was out of commission for a bit but it would be up and running the following day.

I had only one plane without damage so it's debatable that much of my force would have made it back across the channel though one of the Hurricanes had used up it's ammo taking down the 109.

I only scored a total of two hits all evening and Matt shrugged them off, though both of these were from single MG's so not exactly killer material. 

It's proof of a gun game though when this does not matter and the fun remains turned up to eleven. After the game we had a natter for about half an hour which is always fun as it's a mix of what we are doing in our projects with a little old time memories mixed in for spice.

Tuesday, 17 December 2013

Check Your Six AAR, Battle Over Britain

Yes not Battle of Britain as it should be, well it should get another couple of looks just for that. Apologies to all as I have been preoccupied trying to get some points stacked up for the Painting Challenge and did not get around to posting this Sunday or Monday.

Starting positions for our little scrap. I had to be within six hexes of my four Stuka's with both my 109's and 110's which at this point in the battle were still classed as fighters. My mission is to take out a Chain Radar along the table and the Stuka seems the plane for the mission. I just have four Hurricanes to fend off and it's happy days. My real problem is the speed of my Stuka's and the need to try and keep in formation.

I rolled the pilots for both of us, I received an ace in a Stuka and 110 with just the one green pilot in a Stuka and most of the rest veterans whilst Matt had the one ace one skilled and two veterans. This was an unusually good selection of pilots and aces can really come into their own (unless flying a brick with wings).

I gambled on Matt not taking the risky move and immediately paid the price by losing the less experienced 110 to a lot of rear fire. The only Hurries that Matt has are desert war so please forgive the incorrect planes but I said I wanted to go BoB.

With one of my fighters down I was at a bit of a disadvantage but I had the 109's coming in from the other side. Oh the place the Brit's came on was random and at the time both of us thought they came with a disadvantage.

Next the Stuka formation was broken up and two were damaged, one with a engine hit and the other with body damage. One of the others did not suffer damage other than the loss of the rear gunner through a critical hit (one of the other two also suffered the same crit).

The damaged Stuka getting a lot of attention but at least I was starting to mix it up with the Britishers. The mix of failing to give out damage when I did get in position to fire (either missed or Matt saved on his rolls) and poor flying was putting my planes in a difficult place.

My ace took an engine hit, this is really bad news as it was not the fastest or most agile so now I was struggling. Worse still one of my 109's was under the hammer.

Well it has got to get worse before it gets better. My 109 took an engine hit whilst my other 109 blew a Hurricane out of the sky with a blistering shot. 

Another shot from a different angle, SSSD for sure ;-) In the distance you can see the Chain Radar. Well that's as close as I got as I lost the 109 and everyone else broke for home but even that went wrong as a few planes failed to get home.

So overall a disaster as far as my performance went but I am really enjoying the games, just got to get better at it and even though I did er, not so well it felt right. I learnt to fear those modern broadsides from the eight MG's cutting up my poor planes.

Better yet we had a right old chin wag afterwards which was a real pleasure as we compared notes on our respective Waterloo plans and just chewed the fat.

Next Friday I have a game booked with Lee but this time I am keeping my feet well and truly on the ground as we go FoG Ancients.


Sunday, 25 August 2013

Check Your Six AAR - Rommels Lifeline

Rommel was having a tough time of it. Whilst he took turns in taking ground and retreating with Monty with line of supply and quantity of supplies and reinforcements being key it became clear to both sides that every ship that failed to deliver it's precious cargo was another step backwards. Today would see another attempt by the RAF to drive that message home as it targeted a merchant ship chock full of supplies docked and awaiting it's cargo to be unloaded, that most vulnerable of times.

Beaufort Bomber 
I was facing a pair of torpedo laden Beaufort's and it's near twin the Beaufighter also working as a pair. Matt went through the details of the pair quickly making it obvious NOT to get the pointy end anywhere near my planes.  

Take a close look for a clue

I had a pair of ME109's and the rather punchy ME110 going solo. The plan for both of us was simple, the RAF would win if they sank my ship. I win if they don't but plane loss on both sides would temper the victory, simples as they seem to say these days. 


I got off to a good start spotting the incoming planes at the greatest distance possible, then I started to make mistakes as I spit all my planes up and went wide, also Matt showing his greater experience started as high as possible and slowly dived gaining one extra hex per turn for the change in altitude. This is one of those games that greater playing experience can give you the edge, though I am told with some players this just is not the case.


Remember all that talk about NOT getting in front of these things? Not at all the right thing to do by me but I blame it on only having played three games of this up to this point. Of course this is not the whole of the picture, I mean I did have my ME109's


Which brings me to the bigger picture, well at least my pilot in the 109 got to see a close up reason why you do not do this as the 110 turned into lots and lots of little bits after being raked with not a few guns!

At least I knew where the bombers were going allowing me to get behind the bombers but my circular route had allowed them to get close to me ship but I was sending up a lot of flack. My 109's do manage to tag the rear plane taking out the starboard engine.


Not that I got it all my own way as I took airframe damage on one of my 109's. Above you can see one of the Beaufighters coming round to get in on the action, after all he also knows where MY planes are heading.


Matt in an attempt to try and keep me off his planes found himself slightly off course meaning he could not launch his torpedoes for another turn. This would leave him open to yet more AA fire and worse still more attention from my fighters. Matt meanwhile is bringing his fighters round for the next phase.


A few turns and dives later Matt finally can let the fish fly. My AA fire gets a hit on the leading bomber with Matt rolling 12 making it a special hit, I roll seven and we have an engine fire, the crew will need to pass a aircrew test next turn or they are gone.

Meanwhile Matt's fighters are in the perfect position to dish out damage on my 109's but with typical Matt dice style managers to miss much to my relief. 


Now after all the shooting Matt finally gets to unleash his torpedoes and of course keeping in the good old tradition misses with both torpedoes, Ian again breaths out. We called it soon after, the fire did not go out so he lost one of the bombers whilst I was breaking off from the chase so as to escape the fighters. I was bringing both back round to have a go against the damaged bomber but was mindful of the fighters. Instead of playing it through we went for a second game. With the loss of one plane each and the ship safe I felt I had done enough to take that one.

Same situation, but after the effect my AA fire had on the last attack the RAF felt they needed to suppress the flack so sent in 4 hurricanes. Two of these are ground attack with bombs and cannons whilst the other two were choke full of guns. I had the same planes but different pilots and you could tell. The 110 again had a green pilot but one of the 109's also went Kermit. Balanced though by my having an Ace. Matt was mostly skilled but also had a green pilot in the mix.


I did it again but only worse. This time I managed to get in the way of two of the supporting hurricanes with the closest taking out an engine. Unfortunately the second one also got a hit and for the second game in a row saw my 110 not only be the first plate to be shot down, but shot down very near the start.


Matt then went on to tag a 109 (the green one), things were not looking so good for me in this one. I was getting plenty on 10's on 2D6 from my flack but whilst they would be good against bombers, against these smaller faster targets I was just one off a near miss and half damage rolls (3D6!)


My ace though was still in top form and again I knew where Matt had to go. Ace's in CY6 really do have great advantages, they get to move last and their ability to change their orders by two points either way makes them fearful close up. Worse still for their targets they can hit a green pilots plane so very easily. We discussed this quite a bit, the way CY6 plays really gives you a feel for this kind of air combat.

I did manage to take out one of the ground attack hurricanes but it took Matt again rolling 12 and me again getting the seven for another engine fire that Matt's pilot could not put out and down he went. 

Matt's luck remained constant as both the bombs and all the strafing failed to connect with his last ground attack plane running out of ammo. My Ace soon followed suit with his cannons and leaving me with a green pilot in a damaged plane and a ace with two LMG's I knowing the AA guns were safe broke for home.

A success in keeping the guns safe  (through Matt's unlucky rolls) but the cost seemed a tad high. I would give Matt a minor victory in that over the two engagements I had lost or had damaged enough planes that protecting the guns would now be a difficult task.

I think you get a better feel for a set of rules or period at second playing and this is the case here. Not that it changed my opinion but this second playing showed me the nuances that make the rules such a winner. I can see why Matt likes the rules so much and why they have such a following. I have been looking at buying the Russians which is probably the direction I will go in though the Battle of Briton still has a strong hold from many years ago.

Wednesday, 3 July 2013

Check Your Six AAR or three games in one night!

Some followers may remember me buying the rules for Check Your Six for £1 about six or so months ago from Maelstrom when they were selling off lots of things before the creditors could get their share. Since then I have fancied having a go and that finally happened Friday night. So what did I think? Well it's an expensive £1 for sure. No the rules are not THAT bad  :-), it's the cost of the Russian planes I will be getting probably at the Worlds at the end of the year. Then the next air force and the next.... You know what I mean. 

So yes I thought the rules played well and whilst simple still have depth through play and give you a good game. Whilst the games were learn the rules driven we both wanted a good game so whilst not super competitive we were both in it to win it. Laughing though should be compulsive in wargameing and we certainly had a fair few chuckles at each others expense.

I took the French and Matt had the Germans, ME110's in this case. He even let me have a nice tail like position (not a tail as I was too far away). I thought this was rather sporting, well until he pulled an Immelmann and was facing me! This was the start of learning the rules through experience.

After failing to get into a good position I managed to get into a really bad one whilst Matt did a great example of formation flying.

I was between a rock and a hard place and all I could hope for was bad dice and even the possibility that Matt would shoot down his lead plane in all the excitement. This err did not happen and my first plane finally was shot down.

Well if you thought it could not get any worse, think again. Though my plane survived the pass it was damaged which meant he was dead man flying.

The final act, my plane was by this point a flying brick and even ME110's could fly rings around me.

I learnt several things from the first game, poor firepower against sturdy planes mean you need to get good hits to even hope to bring down the enemy whilst a weak airframe needs to keep out of the way of the front guns of high firepower planes. Though the ME110 has low velocity cannons so it's not so hard to keep that distance, well it's not if you know what you are doing. So armed with the same planes and a better idea of what I was doing.

Game two had random start positions which had my planes separated more than the flying circus so I spent the first couple of turns trying to get them closer so they can support each other whilst at the same time not leaving myself too open to massed attack. Oh I should mention that in the two first games I rolled low enough to get an Ace which is a big advantage. 

Big enough that I was able to change my orders enough to get a fly past on one of the German's scoring a fairly lucky engine hit as I went past whilst using my pilots skill to keep German lead out of my plane. The ME110 is not known for it's dynamic flying ability and when damaged a straight line seems a bit adventurous.

My other plane was quite a bit behind the action but as it turned out, in perfect position to take advantage of Matt's situation.

I was able to shoot down the undamaged ME110 in one long rattle of guns leaving Matt with the crippled survivor. So we called it at that so we could get a third game in.

This time we changed up the planes a bit and Matt got the ace this time, yep the guy with the white cowling. The ace though was a bit of a no hoper missing shot after shot as I tried to keep myself in the air. But finally killing off my best plane.

That left me with err one lesser plane and two rather hungry looking 109's, at least they were early models which meant I had some chance.

I did manage to clip the wings of the none ace but as we traded airframe damage that was a win for Matt. In the end my poor plane was shot down and it was all over but the laughing.

So a mighty fine time we had and we will be going at it again in a few weeks but next time with more planes per side. I am really looking forward to getting into it again and hope to take the lessons from the games played and run with it.