
Matt and I finally got a chance to play again after a few near misses. Matt sent over a few possible games including Hail Caesar, as it was top of the list and been suggested a couple of times I thought it would be the best option. It also helped that I had by this point a number of HC and Black Powder games under my belt so was a bit more comfortable playing a game without Kev and Andy to hold my hand ;-)

Matt and myself are old adversaries with our Macedonian and Persian tilts, though of late we have used my Macedonian's as Matt has yet to commit to rebasing once we settle on a set of rules as Matt is less keen than I am on Field of Glory whilst I am OK with them (especially as I have worked on several armies and have all the books) BUT I am liking Hail Caesar more for it's speed of play and general feel of the game.
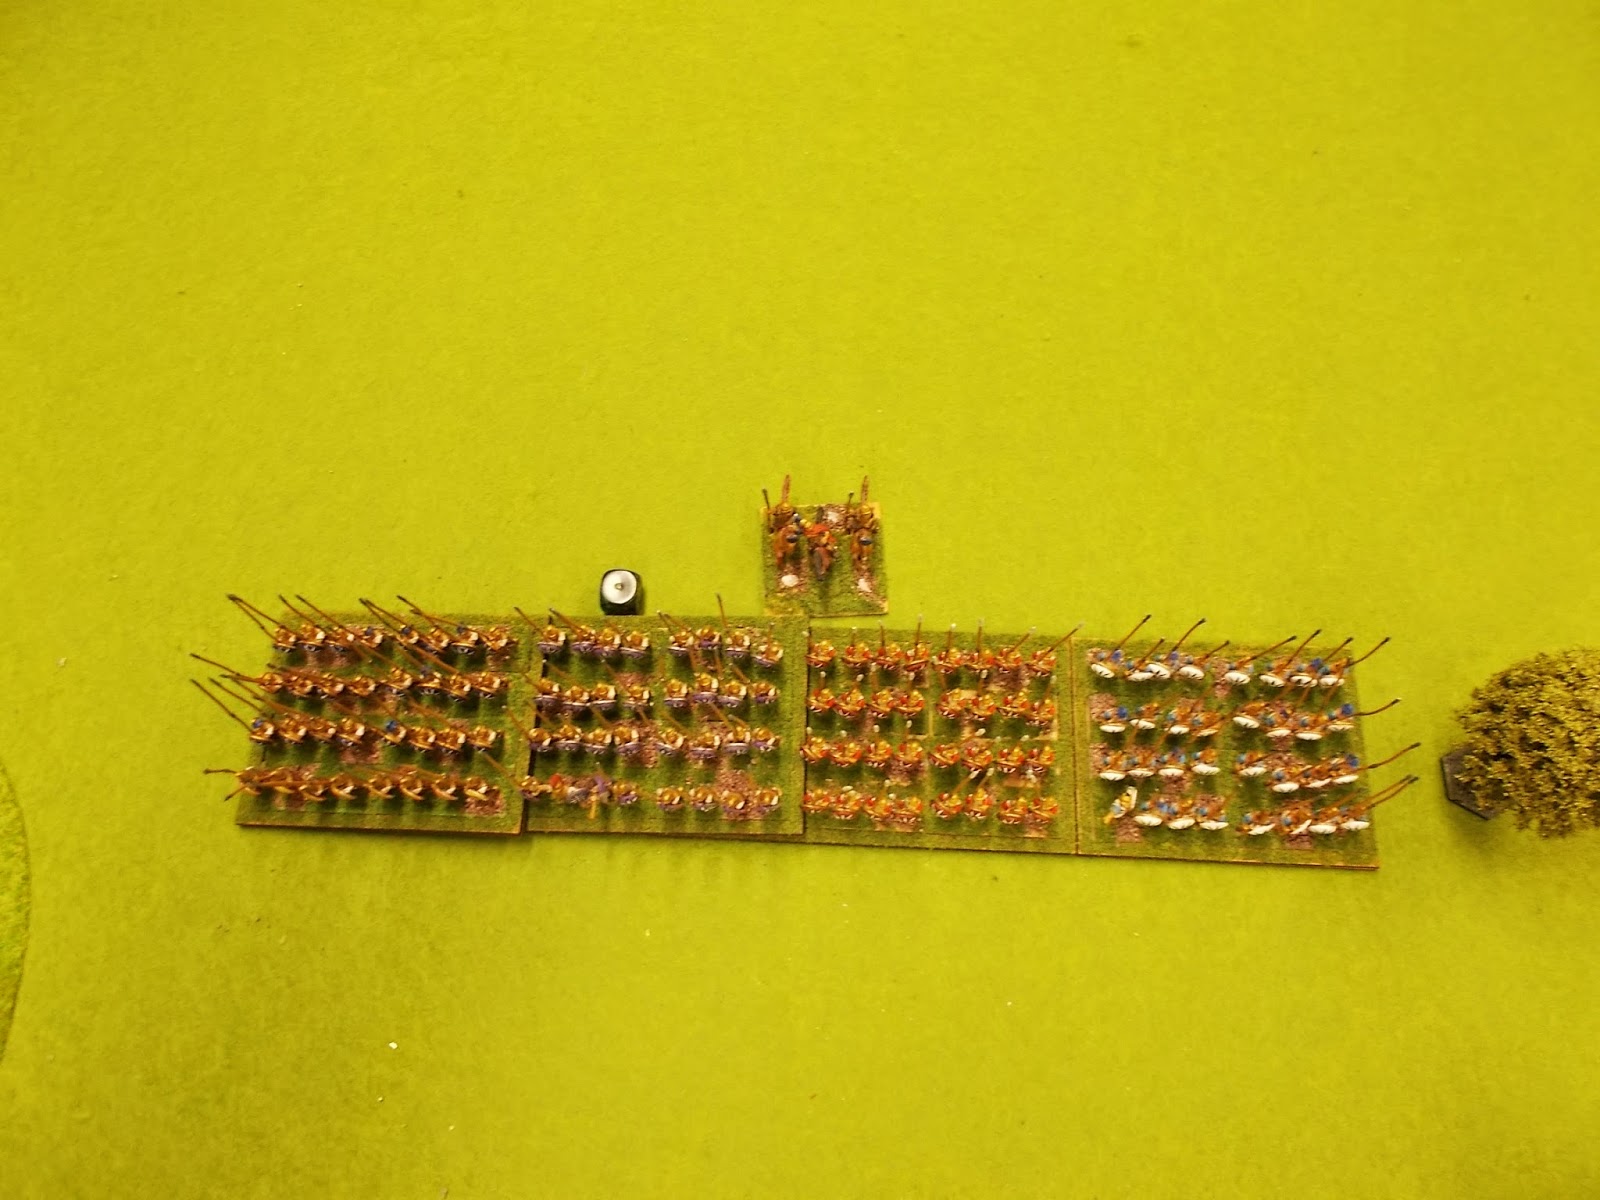
I had the first (limited) success of the night and something rather rare with FoG, one of Matt's phalanxes lost a level of cohesion through bow fire. HC also allows the Persians more bows by rearming some of the Kardrakes with bow, something I am happy about as I disliked the loss of the bow in FoG, especially as I had four units armed with them!

Matt got an alarming triple move for his pike whilst I was slowly trying to mount the top of the hill for some hope of defence. This is a feature that could make or break your view on HC and seeing Pike move that fast over the table was certainly a novel experience for me.

My best commander had a command value of 8 whilst my two other commanders had just 7. Matt's Macedonian's was 8 for the sub-commanders and I had paid 23 points for Alexander himself at 9. This was points well spent as Matt put him with the cavalry and they flew round the flank and went at my rather small cavalry force as the bulk of my cavalry was on my left flank away from Matts.

Matt had three units of Lance armed Cavalry against my spear armed cavalry. I had a second success when one the the three were forced to drop back a turn due to my rolling a 6 to force a morale test. My light horse were being pushed back leaving my cavalry vulnerable.

The attack went well for Matt, whilst I had a good first round I was let down when Matt saved much better than I did, I was one point off becoming shaken whilst Matt was safe from that threat. I failed the test and routed from the table.

The phalanx clash which we thought would be cut and dried ended up being a series of push and shove, the rule that a phalanx counts a loss by up to 2 as a draw saved me tests until both of us became shaken in the same turn.

My cavalry was refusing to move for most of the game, if I could have got it to move with any regularity I could have interfered with the battle in the middle as well as quite possibly smashed his flanking force. As it was it moved once in the first four or five moves, my mistake was having my best commander with the hoplites.

On my right flank I was able to withstand a charge by the single cavalry unit of Matt's not working with the other two. This was against the Kardrakes that rolled out of the box and I was able to bring a Hoplite unit and light infantry in support finally winning the battle and seeing the cavalry off shaken. Matt would later start rallying pips back off but they did not attack again during the game.

I get pushed back in the centre but then win the following Melee seeing one of Matt's blocks off. The other should have gone Matt's way but his best troops were acting in support and started to take the excess casualties without the ability to re-roll pip loss. If the units were switched he would not suffer as much and would have one the melee sooner. In the end my Hoplites were forced to give ground falling back through a fresh phalanx. Due to being shaken Matt remained in position and awaited my next move.

My cavalry finally get moving again whilst Matt repairs his line as best he can and with the hill now in his hands it would be a real push to get up the hill and defeat his blooded pike. My cavaly can't charge his formed pike and I just don't have the troops to take the hill back. All I could hope to do at that point would be to defeat his flank force and then surround his Phalanx blocks, this assumes Alexander does not send his cavalry back round the rear to engage me.

I have four units in the centre directly facing just two of Matt's but two of mine are either shaken or close to it. Before moving in again I would need to rally a pip off the supporting unit and exchange a badly mauled unit with a fresh unit. This would be at least two moves whilst four would be better. All this time Matt would be rallying pips off his pike and making the task as hard again as the first attempt.

Matt caught one of my evading light cavalry units and as such broke one division, this sealed the fate of my right flank and would have allowed Matt several options to cause me bother. This would in turn have forced me to gamble and attack in the centre and the left without fully preparing for the attack. As it was we called time with the win going to Matt and lessons learnt by both of us that will be carried in to the game we have planned for this week.
Whilst the Macedonian army has more power than the Persian it's not as great as it has been under all the rules we have tried to date. However the better command made a huge difference in this game with Matt able to command his troops most of the time, even a blunder allowed exactly what he wanted. This I think is part of the game that you need to master and works well with my idea of how the Persian army acted, large but slow. Our next game will see more units on the table and I believe another cracker, but this time we should get a result as we spent a fair amount of time catching up before a die was rolled.
Great looking game, look forward to the next one!
ReplyDeleteI have two games in two days both of which I am looking forward to
DeleteIan
Massed pike phalanxes like those really look the business!
ReplyDeleteI can field the one more at the moment and look to have a few more painted up in the future
DeleteIan
They're both hard armies to play i the rules, by the sound of it? Cool looking and sounding game Ian.
ReplyDeleteHC give some unit types special features, you have to use these features to get the best out of them. Pike have an advantage over Hoplites but the dice can take that away. Hoplites can win if they have the right support as well
DeleteIan
Nice! Just curious, what make of figures are those pikes? Would some of the Macedonian companions be Chariot/Magister Militum? Good looking game. HC is one of those ones I just haven't got around to getting off the shelf and onto the table yet.
ReplyDeleteCheers,
Aaron
Those companions are indeed Chariot/MM as are the pikes. I bought the pike about three years ago, when I came back to the hobby from MM, really need more as the ones I have unpainted are an unknown make to me. HC allows for some big armies so both the Persian and Macedonian's could see a growth spurt at some point.
DeleteI think it's well worth getting HC off the bookcase and into a game. You can get away with using units based for other systems so it's just getting your head round the rules. These are mostly simple and half the rules is fluff to pad them out. Not a criticism so much as pointing out they do not take as much reading as they make out
Ian