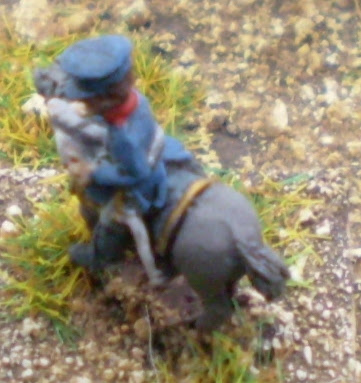
After reading a few books on the Prussians it seems to me like the Prussians almost had two separate commands through Blucher and Gneisenau, though Gneisenau was officially subordinate to IV Corps commander and needed to request rather than order Bulow which is one of the reasons the IV Corp did not get to Ligny.
Anyway that's the story why I have painted up two army command stands, though I don't think both will be used in the actual battle, I was happy to have some fun.
Army Command Stands are represented with four figures on the base. This could include someone on foot though dead do not count ;-) Here we have Blucher who being a man of action has all on his base riding at the gallop. I also included a Hussar ADC as a nod at the fact he was an old Hussar officer.
At Ligny Blucher started the day on a white horse but had it shot from under him and had to use an aids horse in the retreat. I stuck with the white horse, well he could have got another from somewhere else.
Gneisenau by comparison I have surrounded by stationary staff, one looking through a looking glass (maybe looking in vain for the British lead help on the 16th?) again I gave the top man a white horse but with no better reason than I could.
One aid is looking at a map, possibly trying to work out if THAT was the road help was supposed to come from, pity they ended up being French troops.
Overall I think the base gives the impression of uncertainty and lack of vigour. Of course this will curse me to suffer poor roles every time I try to activate his command.
Next up is Steimetz commander of the 1st Brigade of I Corp. Brigade commanders are represented with a two man base. I'm not really sure who is who on the base but the dude with the bicorn looks a bit important.
For a moment I thought he would ride straight into the barn wall but looks like he turned in time. I just think he is a bit put out by so many of his commanders turning up at once.
Poor Steimetz seems like his Corp commander Ziethen has now turned up. He had best make himself look busy! Obviously the chap in the middle has got to be Ziethen as he is waving his hand about.
Corp commanders have three figures on them. In this case I have them pointing in different directions as if they are having a discussion before the brave leader points the way to Wellington's salvation. Again I like how this base turned out as it's rather simple but gives the look of being a little diorama.
All figures are Adler from the Army Command pack that they sell. You get a nice mix of figures but I'm not sure why the need to supply two each of Blucher and Gneisenau especially as they are in the same pose. Not that it matters that much as I am sure they can also be used for other command figures.


I am always at awe with the detail you put in to these 6mm figures truly amazing
ReplyDeletePeace James
These are really nice. The basing is looking sharp.
ReplyDeleteVery very nice work Ian!!
ReplyDelete@ James, Thanks, as always it helps as the figures have crisp detail and I have small brushes
ReplyDelete@ Chris, I am getting better at the basing, plenty of more practice needed though
@ Roger, Thanks the Prussians are a fairly drab lot so there will not be a lot of variance in the command like you get with the French
Ian
I don't think I could paint such small figures! They look fantastic! Better as my 1/72 figures!
ReplyDeleteGreetings
Peter
@ Peter, It's easier than you think, the trick is deciding which detail you paint and which you miss out.
ReplyDeleteSeeing your 20mm I have to disagree :-)
Ian