Saka Light Cavalry

Saka Light Cavalry

Thursday 30 April 2015

My First 20mm Hail Caesar War Band

I have been part of Kev's Cabin Crew for some time now and was even given a compliment by Loki the other day, well that or he had a hairball ;-)

Early on I got the idea that these three guys would be easy to get on with as long as you contribute. Time, interest, maybe even rules and defiantly figures. Nothing gets more approval than your prepared to commit to supplying some of the figures for games.In the past they had a player who would turn up but tended to not deliver on the rest so I was keen to prove myself, hence the 20mm Russian WWII stuff. 

However when Kev struggled to get enough Celt's together for a three way bash I knew I could help out and picked up the figures but have had to stall as the hex system has meant a need to look at unit size. Good job I waited as it has been changed  so that eighteen figures makes up a unit on a reduced frontage. 

It's important to me to try and match the style that Kev has used on his Celt figures. The Cabin like the figures to be bright, I tend to be more dull, something I am trying to move away from and this may include trying more Coat d'arms paints as Kev gets a far richer range, especially red. Their 15mm are especially gorgeous and rich, certainly making me think more about my work.

I will take this unit over tonight and see how it matches to Kev's and change what is required on the next units to better suit. I have enough figures for five more units and a cavalry unit and a few skirmish bases so hope to get these done. 

They should be based on a 90x60 base but unfortunately Warbases did not take them to the show being one of the less sought after sizes so I used a 60x60 and 60x30 so it won't slow down movement. Let's hope they fight better than Kev's manage ;-)

Wednesday 29 April 2015

Baccus British cavalry

Several days of madness were required to get these Baccus cavalry done but it sure felt good to get them finished and on Thursday even better to deliver them to Steve. Last week was a good week for painting as you will witness over the coming week as I present finishes in several other scales to the rather consistent 6mm factory.

This should have been six units of Dragoons but one strip had been lost before I received the models and as the British only had five regiments of Dragoons I just used the extra figures to make these that bit more impressive with extra figures.

1st Dragoons Royals and 2nd Dragoons Scots Greys, I had a uniform malfunction and after checking with Justin ;-) went about a bit (lot) of repaint and somehow kept my cool. The knock on effect was to slow me down enough to miss adding the gunk on Thursday evening meaning I could not finish them till Friday evening when it could have been all done and dusted by 9am Friday, oh well I got something else painted whilst waiting for the bases to dry.

3rd Kings Own Dragoons, 4th Royal Irish Dragoons and 6th Inniskilling Dragoons, the 5th Dragoons were disbanded shortly before the turn of the century. So Steve is maxed out on Dragoons though he has yet to get the other British heavy cavalry.

I also painted up the 13th, 16th and 23rd Light Dragoons, rather striking in their dark blue jackets. Two of these regiments are shown as wearing the busby but the figures have shakos but I think I can live with that, hope Steve is fine with it as well.

The last three are Hussars, 7th, 10th and 15th to be exact. I am always impressed with the detail that is gotten into these figures, of course we poor painters have to try and paint it!

What is the fascination with yellow and British unit's, here the lace of the Pelisse and trim on the saddle cloth, is there any colour worse to paint than yellow?

The 10th Hussars may have that yellow on them but at least they make up for it with a nice bright red shako. Though in reality not quite that bright.

The 15th have grey silver lace and a red trim to the blanket so somewhat easier to work with.

I have to admit when I finished them I had to up scale as the amount of time I worked on them really made my eyes tired. I did take 15 to 20 minutes off every couple of hours to regain my focus but even so I really needed a break before going back to the scale.

Tuesday 28 April 2015

Solo Hail Caesar Campign

Lets face it more campaigns fall short of their intent and never pay back the effort that has been put into it. Well with that in mind and the main reason for doing a campaign firmly insight. So how is this going to be any better? 

Glad you asked. The best figure campaign I remember was an ancients that whilst it lasted provided a number of interesting battles but did suffer from the ability of players getting a right stuffing from other players from the start.

With this in mind a multi-player version of this campaign will not have them actually able to make contact with each other until many battles have been fought with none-player countries (NPC). The main reason for generating a campaign is just to give us battles to fight. Losing a battle should not be major issue for the player, if they are fighting some distance from there own cities they can quickly replace lost troops and attack again. 

The solo test version map above would be duplicated by the number of players taking part. The green area is the player controlled land, the yellow is minor nations land whilst the grey is area's that Barbarian hordes can come from. Any area that is travelled through becomes owned by the country that nation and acts as a route for supplies to be gained so reserve points and troops can be sent to units every five turns.

Random event rolls tend to result in no action but can give the chance of supplying units, alliances and even NPC'x forming alliances. The one you don't want is Barbarian attacks as they can come out of any of the grey area's.

The first even to happen was the southern NPC establishing a new city and thus becoming the best target for attack so I immediately sent a army towards that boarder.

The first battle ended with a victory for my Macedonian army which pushed back the defending army to the city to the north west. The following turn this army was to advance back to fight my army again but the main army has also moved adjacent so I will have to face two armies one after the other, A defeat to either army will force me back to the original boarder. Two victories will buy me some time till the second army arrives (you move two hexes per turn in your own country, one hex outside). 

However the random event was that the north east NPC would ally with any NPC at war with me, so now I have armies from the north east approaching my boarder. They will remain allied until the war with Chios is over or another random event generates a change in status.

The situation prior to the two battles, Asia Minor is about to invade, heading for my nearest city, it's second army will position itself between it's cities awaiting developments. If I attack it's country it will move against the invading army. If my city falls it will also send troops to fight to retain it. The western NPC remains neutral, both armies positioned to defend against aggression or barbarian invasion.

Chios is most in danger as I can attack a second city though it can cover that city with the nearest army. NPC countries can not have more armies than cities, extra armies are gained through random events. If the number of cities fall below number of armies the excess armies are removed if they are defeated so it is possible for the excess armies to be retained by retaking cities without losing battles.

NPC armies always rebuild to their point value after battles. Players have to pay a percentage of unit values for units that are shaken or where routed. Armies are wise to have spare points travelling with the army to repair these units. If no points are available shaken units start with half cohesion loss and routed start the battle shaken, not a good way to start.

If this solo effort works hopefully we can put together a multi player campaign. Regardless this solo campaign should provide us with some interesting battles though most I think will be solo affairs.

Monday 27 April 2015

Hanoverian Infantry Baccus

With Salute knocking on the door I wanted to get as much of Steve's Waterloo units painted up ready to be delivered. OK I was not at Salute but Steve was and whilst there he would be picking up the rest of his infantry from Baccus so I wanted to clear the decks. 

These six battalions will add to the two Hanoverian battalions I have painted up and will complete all the Hanoverian's I need to paint for Steve's Waterloo game. This is the Penalty Landwehr Battalion and as all the other infantry I need/ed to paint is part of the reserve. The flags used are all generic as no record seems to be available for any of the reserve Battalions.

The Osterode Landwehr have green facings but the drummer like many Landwehr is dressed in red rather than in the facing colours. Indeed it's just like painting the British but with only on flag.

Muden Landwehr, the sun was rather bright so has bleached the images a little. Steve had a mix of shako types which I think suit the Landwehr. I had planned to snipe some of the shako's off but on close examination I decided not to as they are attached to the muskets and did not want to risk breaking them off. 

Hildesheim Landwehr, I found I could paint them up at a reasonable rate but that still was relatively slow as they are fiddly. I do like the look of them though, I still have to do skirmish stands and the highlanders so will get more practise at the British. Then I have to start my son's, should get round to them in the next couple of weeks but want to finish two rather large units forst.

Verden Landwehr, the last four battalions have Baccus flags whilst the first two are an unknown range picked up off E-Bay a few years ago amongst a load of other flags and mixed bag of figures. The Baccus win the best flags this time around for the rather more colourful flags. The sheet was part of that e-bay lot and I used the Brunswick flags just the other day. I have had to use them with a fair bit of guesswork as the sheet that says which flag is for which Battalion.

Luneburg Landwehr and the final battalion I have on hand, I have also painted up eleven regiments of British cavalry for Steve though that may well not be for Waterloo. In hand I just have the artillery, limbers and generals which I will get to after a rest from 6mm but should get to them towards the end of the week or early next week. I've been quite productive but started to stall now as I have twenty five 28's under the knife, file and pin vice and it's tough sledging. 

Saturday 25 April 2015

BFP-74 Coiled to Strike

4th July 1944 as the Germans continue their offensive at Kursk, here a strong combined arms force has to batter it's way through a well defended and dug in Russian force. Set away from more than a handful of buildings this is open country, lots of room to manoeuvre where smoke and lots of machine guns are needed to keep the Russians in the bottom of their trenches whilst Stuka's hunt out juicy targets.

I continue my journey through the Crucible of Steel pack by Bounding Fire Products with one of the larger beasts. It even warrants two sides of a scenario card, yep it's not suitable for an evening play. It's the type of scenario I like to reserve for a bank holiday game with James but this was PMEM with Rob. Me as the defending Russians and Rob as the toy rich Germans.

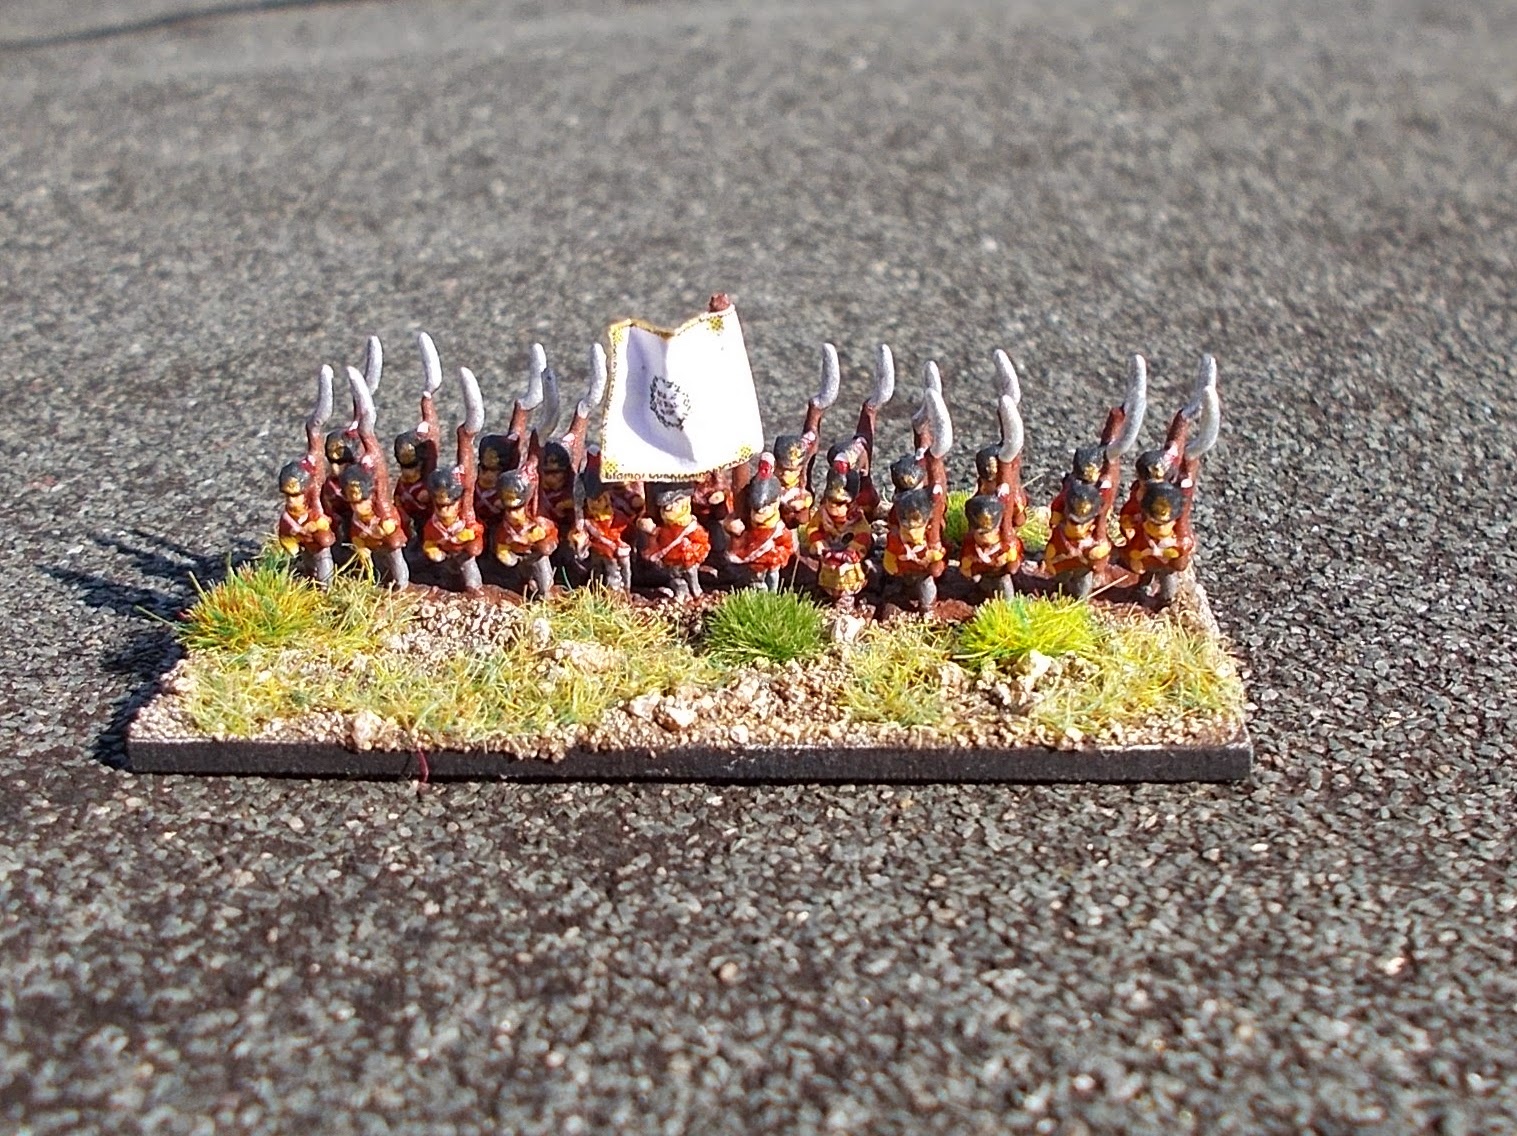
I don't think anyone do big scenarios as well as BFP and Crucible of Steel has plenty of them. Now some folk don't like third party providers whilst others just assume no one can better MMP so why look at them. Boy are you mistaken, the golden boys of not official ASL can supply as good as MMP can. I love the games I am playing from AP9 To The Bridge and Festung Budapest is fantastic but the last two packs by BFP are as good/better and LFT's historical packs also can stand side by side with pride. It does not stop there, plenty of other TPP also are producing excellent scenario packs and no one does historical mini modules better than Lone Canuck. So if you have never tried any of these I suggest you take time to tread the various AAR's I have of these providers and check out other reviews and AAR's as your missing out on so much ASL goodness.Back to the plot, the Germans get 30 squads some set up on board whilst the rest arrive through the first four turns on the 8.5 turn game. Three HMG's two MMGs and two 81 MTR are part of the on board troops so from turn one they can lay down a fair bit of fire, especially as they also have a 9-2 leader. The Russians though are not without teeth of their own with 27 squads at start, a pair of HMG's and four MMG's. Add to this a dug in T-60, two 76L ART one each of 45L and 45LL ATG's and a 76* INF and what turned out to be an excellent 37L(8) AA  and I had a formidable defence. Two 1+3+5 bunkers, nine trenches and as many foxholes as I could die in all wrapped up with eight wire 12 AT mine and 48 AP mine factors and I could plan a nice defensive hedgehog. 

The Double Wide boards that come with Crucible of Steel are excellent semi open country, this scenario uses two of these and two other normal CoS boards and this really gives a great feel of attacking/defending in this type of terrain, something that has been difficult to reproduce on previous Geo boards.

Scenarios of this size and choices need a good deal of planning so you need to put a lot of thought into your defence. Given the shear firepower of the Germans I knew I needed defence in depth but I also knew I needed a few turns of grace to allow me to force the Germans to take risks towards the end of the game. No way can you or should you plan to hold out in your at start positions, that is playing to the German FP strength.

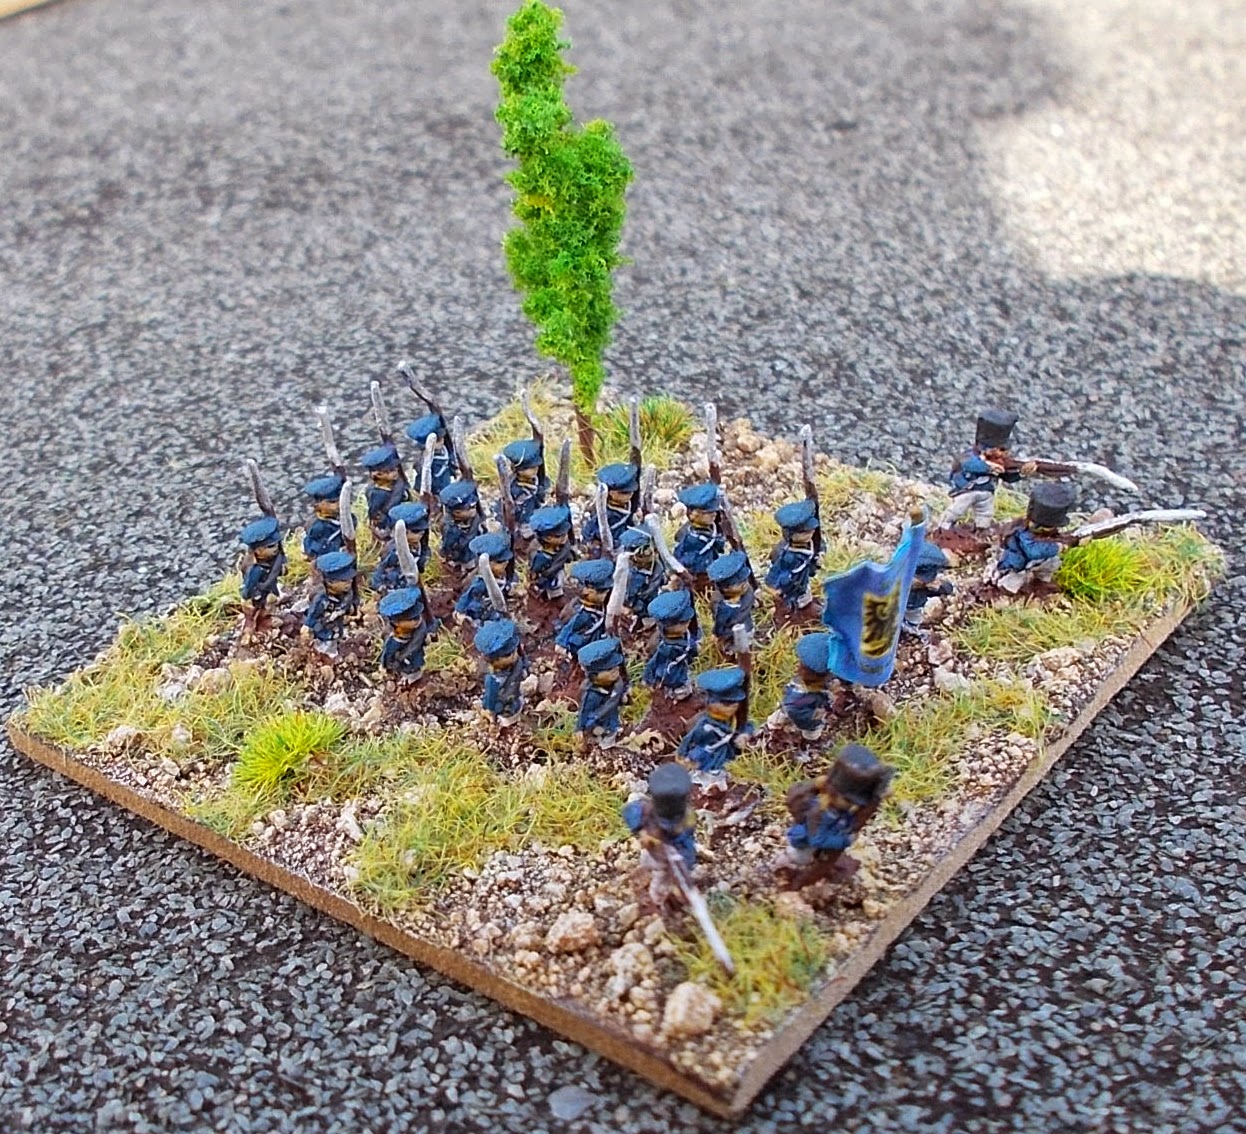
The German's have four reinforcement groups, one of three StuG's, another with three Marders then six engineers squads with flame throwers, demos and trucks to get them up front with a AA halftrack for protection from my turn five FB. Lastly another twelve squads in yet more trucks and AA halftrack support.

Rob started off as it was to go through the first few turns with some heavy fire generating slightly below average results. His best moment was when one of his three Stuka's saw and killed my dug it T-60 but I paid him pack downing another Stuka with my AA gun. My front line was mostly covered with a cloud of smoke, added to through the first three turns as Rob choose the AFV's for the first two groups laying heavy smoke on the left hand hills but a steady loss of smoke ability eventually freed my units from the smoke and this is when they started to take a beating from the SPG's as Rob sent all six against this hill, however I just cycled new units back into the forward trenches and rallied the broken squads. This was also the tale on the right hand hill though in most cases it was cycling back in half squads and ELR'ed at that as the three HMG stack with the 9-2 leader was really taking it's toll. 

However whilst I was losing units at a steady pace I was also picking off his squads and my flanking 45L was working through the Marders. Indeed casualty wise the German's had the best of it through the first 2 turns but the next tow were swinging in my favour.

Rob's decision to lead with the AFV's started to have a negative effect at this point, his smoke was about used up, his firepower was starting to drop off but he had hardly moved forward from his start positions whilst I was still for the most part defending my forward posts, and longer than expected.

This was the point of the first major push as he used the two at start half tracks and the StuG's to freeze my most vulnerable squads and moved infantry up for some point blank fire. In all cases at worst I was pinned and Rob then joined me in melee. These for the most part dragged on and whilst in the end he was to kill all the defenders I was able to kill a number of squads and both halftracks either from close combat or firing into the hexes. By turn five Rob had to move with the threat of my Fighter bomber that picked on his moving trucks causing a number of casualties including one engineer squad and flame thrower. Rob continued to be aggressive with his StuG's forcing broken units to remain under DM and even running foul of my own mines giving up their locations. However this was to cost him all the StuG's one to a rear shot from an adjacent ATR rear shot as it desperately turned to face the 75L ART on the adjacent hill. This StuG was to be the cause of the large fire in the grain and whilst it forced my troops out of the trenches was to prove a great help in forcing the German's to take a wider route.

A AT mine took out a truck and squad as they approached the first line of buildings on the far right, buildings I had been forced to retreat from by massed fire but still protected by the AT mines as I had expected some of the tanks to take this route which they did not do. I unhipped the second ART when the HMG kill stack moved through the open just a couple of hexes away but whilst I broke a squad failed to do the damage I had hoped to do. It did however loose Rob another turn as his troops had to stop and deal with the gun. 

More successful was the 75INF taking out the last StuG with a rear hit as it stopped adjacent to the gun. The first shot was a critical hit as it span round and fired. It then saw off several infantry attacks as Rob tried to force his way round the flan, the gun protected by a wall of fire.

Rob never got infantry onto the smaller hill, the AG's that made the heights were taken out by the ART and AA gun whilst the infantry were mowed down as they closed to the hill. I came close but never quite ran out of infantry to push into the forward trench. He was more successful with the larger hill but the AA gun on the small hill was able to break most of the infantry moving in the open with it's flanking fire. 

As time ran down Rob through all he could onto the large hill and towards the small one but all this was in the open and good rolls meant almost all were to break on the way in with yet more troops being KIA'ed adding up a lot of negative VP for him.

In the end Rob called it at the end of his turn eight movement, too few squads left and as far away from the victory locations as he had been at the start of the turn.

The end positions, the AA gun is next to the malfed ART, yes it never rolled high enough to loose concealment! I think Rob could have done with at least one of the truck mounted infantry (the 12 squads) earlier, especially as he was keeping the right side defenders under a hail of effective fire. The small hill did end up being a dream position allowing quite a bit of interdiction of the Germans as they tried to take the large hill. The HMG on the top of the large hill went through so many changes of Russian troops that I visualised a pile of bodies filling the trench around it. Apart from some early good shots it's main contribution was fixing a large number of German units in place firing at and breaking it's troops but keeping the German force in place.

A great scenario with lots of reply, but due to size and so much HIP (fortifications are not revealed) I think it will get less play than it deserves, such is the lot of large scenarios though VASL was made for games like this. 

Thursday 23 April 2015

Brunswick Rebased and Sanity Check

Part of a load of 6mm lead that Dave D organised for me and Lee included a bunch of Brunswick units. I kept them tucked away and gave them my son for Christmas still based as they arrived. At the time I was not 100% sure how I would go about it, possibly sabot them or total rebase?

Enough figures to form four Battalions, I finally compromised on rebasing them to my basing style but where possible leaving the original basing in play as it looked very nice. I was a little short on command so one battalion is short the correct figures. Dave has also sent on some more unpainted Brunswick troops so these will get some reinforcement but they are some way behind my son's British Peninsular force I am about to start.

He also has four batteries of artillery and three command stands all finished. The cavalry still need to be rebased so something else to look forward to doing.

Today marks the fourth day of an all out painting offensive, the fruits of which you should see in the coming days but for the last two and a half days I have been working on what was to be twelve regiments of British cavalry that will now be eleven (five over strength Dragoons) as they are short by one strip and the British only have five regiments. As I am not painting up any KGL I thought it better to add the spares into the other five units.

These are now at the inking stage and if such work was not maddening enough I made an error that meant repainting one unit almost altogether and of course I was at the finishing stage! Still these things tend to be done just the once and when I come to paint this regiment again I won't make the same mistake again.

Tuesday 21 April 2015

2nd Silesian Landwehr by Adler Finished

Another three Landwehr battalions finished and again they are Adler Miniatures. This will probably the last Prussian's I do for a while, too many other projects that need my time. That said, as soon as I get the urge I will paint a few more up, after all it's not like I am short of figures.

The 2nd Silesian Landwehr was another regiment of the IV Corps that did not take part in the battle of Waterloo despite this being the most engaged Corps of the whole army. No worries as I will find some use for these at some point.

I could not face cutting all the figures off their bases and sticking them on one at a time so I put this unit in a three deep column, even inserting a mounted officer into the front line.

I used three flags that were the same for this regiment, it's a pain not really knowing which flags (if any) they carried but at least these are attributed to some Silesian units.

The second battalion look brighter but it's just the sun popped out for a few seconds. After well over a thousand sets of straps painted on 6mm figures I am starting to feel comfortable with the task. I can even say I no longer hate painting reigns on horses, though having twelve regiments on my painting desk waiting for that very job could change that again.

The 3rd battalion feeling a little homesick brought along a tree from home. OK not from home but from Leven Miniatures who will be selling them fairly soon. Lee occasionally adds trees to his bases but it's not something I have been too fond of but I do like the result so might start to do it more often.

The next 6mm I will be doing for myself will either be ECW to keep company the ones I am about to start for Lee or it will be the next two pike blocks I plan for my Ancient army. 

None 6mm I have a few Zed's awaiting attention, a 15mm Pike Phalanx and another of Hoplites for my Macedonian and Persian armies respectfully. I have figures for another two pike blocks after those so I hope to get all these done before deciding if I will also go for more for BIG battles.

Monday 20 April 2015

Plancenoit Church - Building of the Week

This weeks building of the week was a little more involved than a typical single building. Not only was it a focal point in the battle of Waterloo but I have been given instructions by Lee to put it on a hill. Plancenoit was the scene of bitter fighting between the recently defeated Prussians and a mix of Guard and other quality French battalions. The church swapped hands several times as did most of the town. The Prussians showed that losing a battle is not always the same as being defeated as they battled away until Plancenoit was firmly in their hands and the Prussians continued to advance into the French right flank and the rest as they say is history.


So in expectation of another titanic struggle I thought it needed to look presentable. Leven Miniatures have released this building on their site this month so it's a new model (NAP09 £3.50) and is another piece in their excellent Napoleonic range.

The walls are also Leven made, ACC02 Dry Stone Wall Set, actually about one and a third sets to fit round the full base. I have used three of my Warbases, one 3mm thick and the other two 2mm thick. The corners broken off leaving rough edges and the long edges sanded to a slope.

Here the walls are suck in place but the church won't go on till near the end. The actual walls were higher and were more round in shape so I have had to accept a few compromises, none that worry me though.

The usual basing system, though the final touches would only be added once the ground and walls have been painted and the church ready to be glued in place.

I went a lot heavier with the static grass than usual as you would expect almost total grass coverage around the graves. I also added grave stones and floor stones via coffee stirrers though these could be replaced at least in part by metal ones if Perfect Six get them produced in time.

The tree is one of the ones I bought about three months ago and I like the height of the tree to balance the tile. It also helps fill in the rear corner as I did not want equal spread of the graves.

I also added clump foliage to cover some of the worst wall joints but did not want to cover them all and tried to not make them too regular so no pattern built up.

I may yet add a few figures or other furniture to add a bit more interest. The church is to one side of the town so will stand out a bit. We are using about twenty buildings for the town so the church should not stand out on it's own nor disappear into the mass.

One of the models I looked at had greenery creeping up the tower and having success with doing this on a farm tile I thought I would do it again here. Really happy with the result.

So now I have Frichermont and Le Haye to paint up and all the buildings are finished. Frichermont is prepped and ready whilst Le Haye is yet to be made available by Leven. So we are quite close to being ready. Looking at the boards with the various buildings in place, even before all the hills are added really makes the battlefield start to stand out. Really looking forward to showing you images of the boards as they stand and more once they are textured and ready to roll.

Sunday 19 April 2015

The Queens Royal Lancers & Nottinghamshire Yeomanry Museum

With the kids off school for two weeks we wanted to go various places and we popped over to Thoresby for a return visit to this wonderful museum.

A new addition to the museum since our last visit is a WWI Trench section that has been installed downstairs below the main museum. The museum is free to enter and the staff are all very happy to answer questions and are very helpful. 

The exhibits are a mix of behind glass displays such as actual items from the days of the mounted charge all the way through to the modern day, multimedia screens and very tactile displays that you can pick up or even put on! The Museum opened in 2011 and for the most part still seems very fresh. 

The case of medals alone was worth the visit whilst The Charge of the Light Brigade has a major display and even though I have seen enough Zulu's to last a lifetime I did like their display as well.

Plenty of well presented model displays with some excellent model and paint work is also on display.

Education and research are cornerstones of this gem, school visits are welcome and encouraged and their research room is available with no more than a little advance notice. 

The museum is open Wednesday through Sunday March 1st to November 30th from 10.30am to 4.30pm but can open on other days by request! 

I had a good chat with Captain Mick Holtby AMA, who was extremely helpful and generous with his time. On site their is a number of boutiques and specialist shops and restaurant and the Park is free to enter and provides a nice walk so it's fine to take the family (we had a picnic) and it's about two miles from Rufford Park so you can really make a day of it.

Please nip over to Facebook and give them a like, from talking to Mick it's something he wants to see grow as it has not been set up and active for long and it would be nice to pay him back for his kindness.

Saturday 18 April 2015

Command & Colors: Prussians


Keeping with the Prussian Napoleonic theme, I thought I should update our progress with Command & Colors. We have dabbled with the new Prussian module as well as continuing through the original set. The Prussians certainly have their own feel to play with. Above is the Jena morning scenario after the first couple of moves. I as the Prussians need to hold the town in the centre if possible and the victory banners required is eight (nine for me to give my son a better chance). 

I can see why the suitable age has risen from 12 to 14 as the scenarios are that bit more complex and a straight forward attack is often not going to get you the win. Far more use of temporary victory banners are in play. In this scenario the player with absolute majority of town hexes gets a victory banner. This was our second playing of the scenario and as you can expect the centre two hex town saw heavy fighting in both games though in the first game my exploiting my success with my cavalry on my left flank and attack past the town saw me get the win. The second game my son was somewhat more cagey with his own cavalry keeping it in reserve and darting out for attacks on weakened units and then taking them back into reserve made the game a lot closer. He finally got the win with an overwhelming attack on the two hex town though it did bring him close to loss as most of the units attacking took a beating. Combined arms was the tipping point in the attack.

The mechanics continue to impress and I am keen to try the combat mechanics with our 6mm figures and rule set to see how that would play out.

How good is it? well once work is sorted out I will be picking up the other sets as the game has become a staple of  our regular play and I think it will get use with other friends as well.

Friday 17 April 2015

Adler Prussian Cuirassiers

I really move away from Project Waterloo with today's post, Prussian Cuirassiers. Whilst Prussia still had a number of Cuirassier regiments none were with the army that fought between 16th and 18th June. These are a nod towards using my Prussians for other battles and time scale. Ultimately I want to paint up the full thirteen regiments though I only have enough for five regiments at the moment.

This is the 1st Regiment, they should have poppy red facings, so I used the brightest red I have (Vallejo Game Colour Blood Red). I have painted both regiments in their campaign uniforms rather than the white of the dress uniform. I really don't see the point of painting up figures for battle in dress uniform though I probably mix the two types through my collection.

2nd Regiment looks very similar to the 1st, it's typical of the Prussians that their Cuirassiers are the most drab of all the nations that have them in their army. The lack of a shiny back and breast and even the helmets are black. All that said they have a certain charm in their frugal way.

The facings and blankets are darker than the 1st Regiment and I went with the old trusty Vallejo Flat Red. I have used ten figures on each base to try and make the mass effect and put them boot to boot on the base. My normal number is nine figures and it's surprising the difference one figure makes.

You can just about make out the colour difference in the two facing colours. As the figures are wearing gauntlets the cuffs are covered so you only get the red on the blanket, saddle cloth, pistols and collar. Still it lifts them up enough to stop them sinking into the background.

I won't be painting up the other three I have in hand for a bit as I have other figures to get painted, but if I find I need a few more for a game then I can dash them off quick enough.

Thursday 16 April 2015

Building of the Week - Something Old & Something New

Leven Miniatures will be releasing a range of trees around June/July and I have spruced up a few bases to show them off. The image above is of a new unit just painted as I wanted at least one unit to ytry them for size.

Part of my small town and one of the tallest buildings I own from Leven is the Fachwerkhaus coming in at 55mm in height. The tree trunk is made of fire painted brown and this is also the limbs of the trees. The foliage clumps have been glued to these limbs to good effect and seem to be very well attached.

The trees certainly have a tree like appearance and as far as I know all the pieces available are of this shape and none of the ball and Christmas tree shapes of old.

Four sizes are going to be available 30, 40, 45 and 50mm. The 30mm look great for orchards and we will be adding a fair few to our Waterloo board around Hougoumont, these are the last images shown of the post.

Here you can see the limbs a bit better. Far more realistic than the ones I have of old. Whilst I am not at liberty to reveal the prices they are typically Leven attractive and I expect Leven will be getting a few side orders of tree with building orders.

Anyone remember the farm painting tutorial? Well this tile is now known as Orchard Farm. I had planned to put six trees on the base but could not squeeze the extra two on without getting too close to the house.


Still I think they give the right impression. I am not sure how many we will need but have ordered forty of that one alone so we are sure to have enough and I have plenty of farms that need produce.

We will use the trees as a general mix making use of all sizes with the smallest also being used at the edges of the woods to represent younger trees. Given the pricing you can afford to be generous with your battlefield.

The trees do not come with bases but they are easy enough to knock out. In this case it suits to drill holes into the tile and glue them in place. Other ones will be either glued to pennies or some form of irregular base to hold a few trees.